The "Employees" menu is like a digital filing cabinet that stores employee data such as name, classification, hire date, contact information, etc. Before adding employees, it’s recommendable to add companies, classification groups, classification types and classifications so you can assign each element to new employees. This article explores the different tabs, and functionalities in this window.
This is one of several menus that can be pre-filtered, to limit what data is loaded when exploring employees. For example, if you only want to load active employees for a given company you'd do the following:
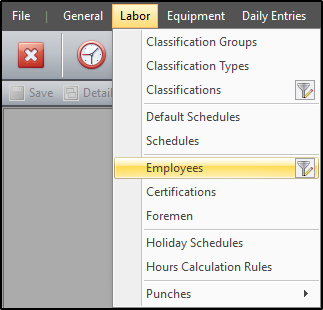
Click the filter icon at Labor > Employees.
Click the "Add" dropdown and select the "Company" filter, then load the satisfying records. The "Only active records" checkbox is flagged by default to only load active records. Uncheck it if you'd like to load inactive records as well.
Let's explore some other features, below.
Adding Employees
To add an employee click on Labor > Employees.
Click append (+) to add a new row, then enter the details for each record. You can also use the buttons to the right of the append button to modify or delete the selected record(s).
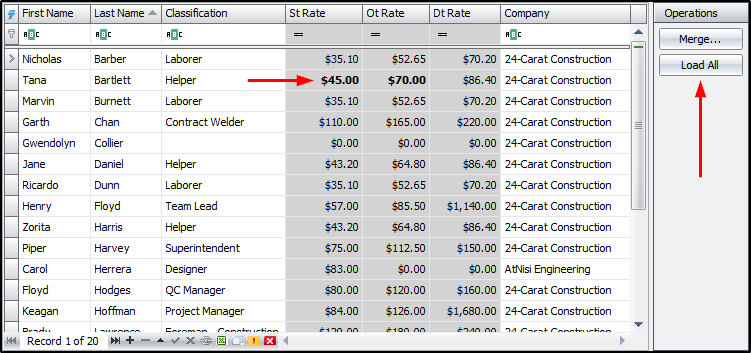
After adding a new row, enter the details for each record in the grid or in the tabs below the grid. You will observe that some columns in the grid are grayed out, as they're read-only and cannot be modified in the grid. In this example, the ST/OT/DT rates are populated from the "Classifications" menu. We will explore the bolded rates in the "Override Rates" tab. Also note the "Merge" and "Load All" buttons in the operations section. The merge button lets you combine multiple records into one record (to be explored further below), while the load all button loads every employee (active and inactive).
After adding and editing records, click on “Save” to accept changes as the data is not automatically saved after records are added, modified or deleted.
Upon saving, a Sys # (distinct, system-generated number) will be assigned to each employee added to the list of employees.
Data Grid
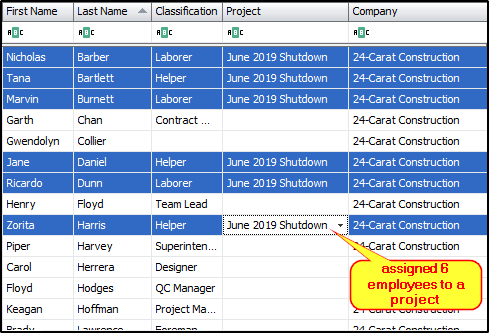
Among other things, the grid allows applying the same change to multiple records, simultaneously. After selecting the desired records, make the change in one of the selected cells then press tab and that change will take effect for all selected rows in that column.
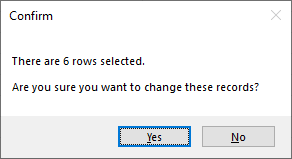
You will be prompted to confirm changes that affect more than five (5) records at a time.
Some columns in the grid may not be visible, but can be retrieved from the column chooser, which basically houses the hidden columns. To retrieve a hidden column, right-click a column header and select "Column Chooser" from the context menu.
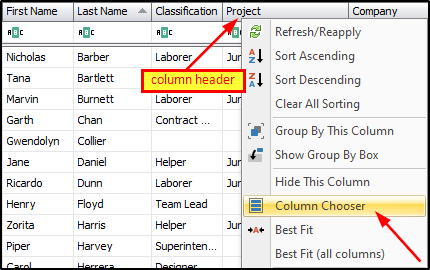
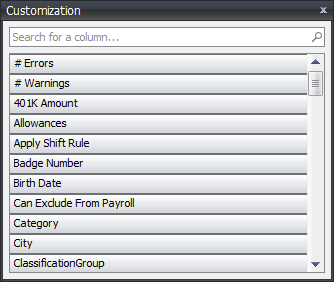
This will open the "Customization" form with the list of available columns for that screen.
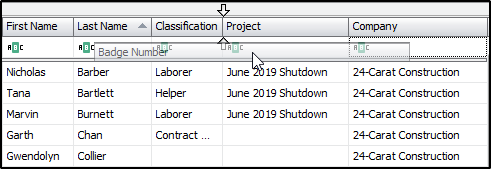
From there, drag and place the desired column from the form, to the grid. The two arrows facing each other indicate where the column header will be placed in the grid. In this example, the badge number column is being placed between the classification and the project columns. See the data grids article for more in-depth details on data grids.
The "Email" and "Email Category" fields are also among the hidden columns. When these fields are filled, each employees will receive a copy of his/her punch report. These automated reports must be scheduled before emails are sent to each employee. Additionally, the punch reports will only contain gate/punch records for the employee (not the company). Use the company email addresses menu to generate emails at the company level, if you'd like to include all employees for said company.

Contrary to the data grid, the tabs below the grid only allow modifying one record at a time. If multiple records are selected in the grid then the tabs will be grayed out, thus, unmodifiable. Let's now explore the tabs below the grid.
Overview Tab
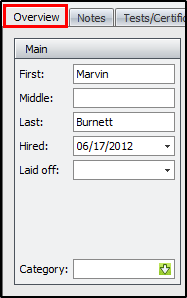
The “Overview” tab has five (5) sections and contains supplementary details for each employee. The "Main" section has fields for the employee name, hired and laid off dates and the category the employee falls in. The category field serves as an additional grouping structure that is not within the constraints of the three (3) classification grouping mechanisms. This LookupEdit dropdown basically stores new values in addition to displaying available values.
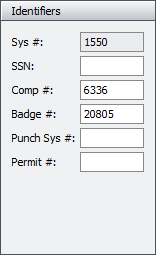
The "Identifiers" section handles numerical coding for the employee. This list of numbers includes a Sys #, which is a distinct, system-generated number assigned to each new employee. It also includes fields for the employee's SSN, Comp # (contractor company number assigned to the employee), badge #, and parking permit #, if applicable.
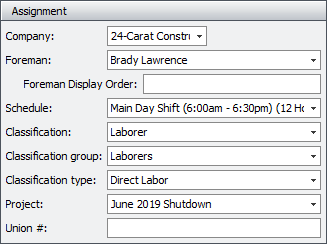
The "Assignment" section deals with assigning employees to their respective groups. Here you can specify the employee's company, foremen, and determine the foreman display order, which basically determines the order employees are listed on a foreman report. This is also where you assign the employee's schedule, different classification groupings, project and union #, if applicable.
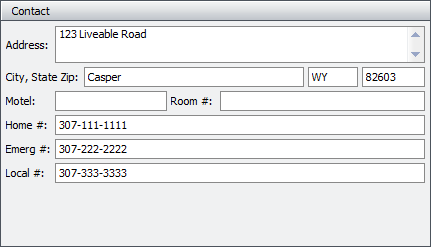
The "Contact" section contains contact details such as addresses and phone #s for the employee.
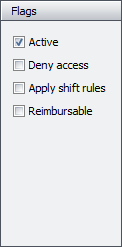
In the "Flags" section, you can set whether the employee is active or inactive. You can also tick the deny access checkbox to block the employee from entering the job site. If you tick the apply shift rule checkbox, the employee will be bound to the start and end times of his assigned schedule. This allows for more strict enforcement with respect to punctuality, tardiness, time onsite/offsite, etc.
Notes Tab
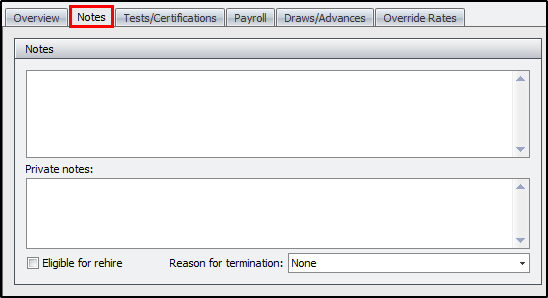
In the “Notes” tab you can add notes and private notes for the employee in the “Notes” section. This is also where you'd list a reason for termination and flag whether or not the employee is eligible for rehire.
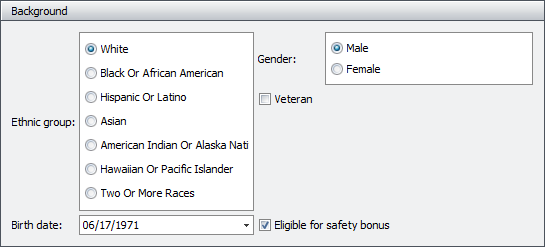
The "Background" section includes demographic details for the employee, such as ethnic group, birth date, gender, and tick whether the employee is a veteran or whether he is eligible for safety bonus.
Tests/Certifications Tab
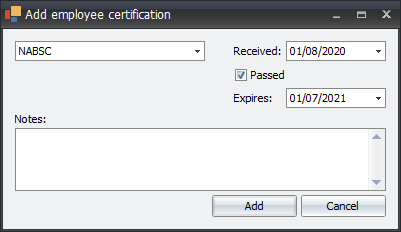
The “Tests/Certifications” tab lets you add certification(s) for the employee. Each distinct certification (i.e. welding certificate, NABSC, etc.) must first be added in the “Certifications” table (Labor > Certifications), before they're available for selection in the "Employees" menu. Click the + button to add a new certificate and the - button to remove one from the list.

After clicking the + button, select the desired certification from the dropdown list, then fill the details for when the employee received the test, if the test is passed, and when it expires.
Payroll Tab
The "Payroll" tab goes hand-in-hand with the pay rates tab in the "Classification" menu. It handles tax information, flags that signals special circumstances that may affect the employee, different withholdings that the employee is subject to, and the current classification pay rate for the employee. If the employee's rate is different from the classification pay rate then you'd enter his/her rate in the pay rate override column.
Draws/Advances Tab
The “Draws/Advances” tab deals with draws/cash advance and payroll deductions internal matters such as tax information, pay rates, payroll deductions, etc. Click the + button to add a new row for a draw/payroll deduction and fill in the underlying details for each. This window uses cumulative balances for its transactions. 
Override Rates Tab
The “Override Rates” tab deals with rate overrides for the employee. It functions similarly to the charge rates tab in the "Classifications" menu, and lets you prescribe override rates for hourly rates (ST, OT, DT, etc.) and unit-based rates (daily, weekly, monthly, etc.).
As discussed earlier, overridden rates are displayed in bold in the grid.

Merging Employees
In the "Actions" menu there is a "Merge" option and "Analyze Usage" selection.

When selecting "Analyze Usage" columns are added to display if the employee has records stored and the type of records. They can be in both the punches and labor entries.

Employees can be amalgamated to combine multiple employees (and their daily entries, etc.) into one employee. To merge 2 (or more) employees, select the one you wish to merge from (get rid of), then click on "Merge" in the "Actions" section. By utilizing the conditional formatting function built into the software, I am able to identify duplicate employee names. Information on this function can be found in the Data Grids article. In this case, I am using the "Punch-Max Date" to see that Sys# 4140 has the most recent punch data, and I need to merge #3083 into #4140.

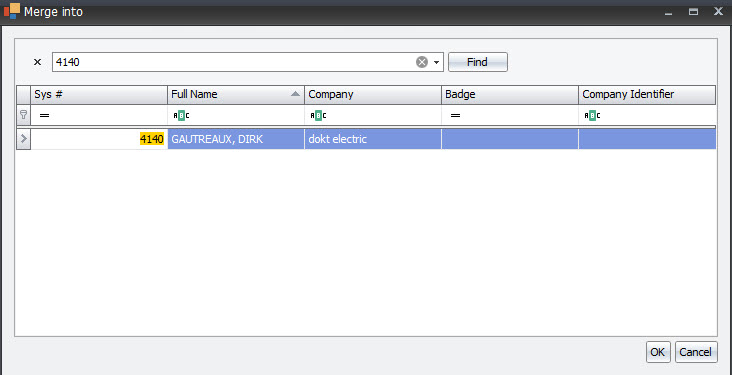
This will open the “Merge Into” form for you to filter for and select the employee you wish to merge into (keep), then click OK to move to the next step.
In the "Select Properties" form, select the checkboxes for the properties you wish to keep, then click OK. You can select a checkbox from either the "Keep" or "Replace" column for each row. The properties that will be kept are highlighted in yellow.

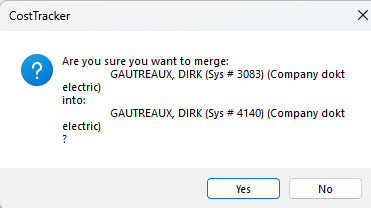
Confirm that you wish to merge.
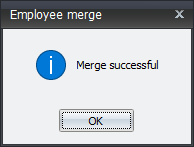
Afterwards, the software will combine the records for both employees and complete the merge.
Importing Employees
Employees can also be imported into CT3. This is the preferred method when adding employees in bulk or just adding several employees simultaneously.
To import employees click on Tools > Import > Employees.
You can add a new preset if none is established for that company or edit an already established preset. You can also remove, duplicate, import or export presets if necessary.
![]()
The “Data Source” section lets you locate the directory path for your import file by clicking on the ellipsis. You can also choose which sheet number to import from and set the number of rows to skip to accommodate headers, etc. Upon saving the import preset, it displays the assigned file type in the title and allows update preset location to a file or folder for future imports.
The “Options” section affects how current and future imports affect each other and determines how new employees and rates are matched.
The “Fields” section handles the underlying details of the import. Here you add the desired fields to import and assign the position to correlate with the column in your spreadsheet. Click the “Add field” dropdown to add a field and the remove button (red button to the right) to get rid of a field. You can also set a different font case for select fields.
Once the preset is prepared, click “OK” to save. From there click “Import” to import the data then review and confirm the import.