The "Foremen" table has a list of the foremen for each company. This list can include general foremen, construction foremen, mechanical foremen, etc. This article explores adding foremen and assigning foremen to employees.
Adding Foremen
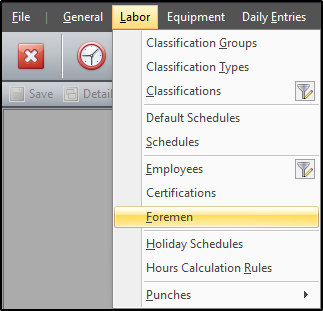
To add a Foreman, click Labor > Foremen.
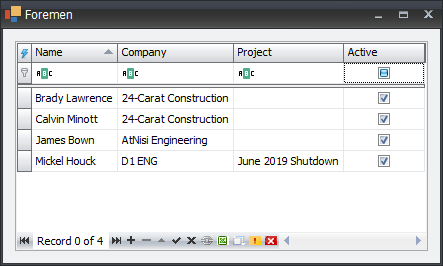
Click append (+) to add a new row, then enter the details for each foreman.
This interface includes columns for the foreman's name, his assigned company, and, in special cases, the project that the foreman is assigned to. You can also flag a foreman active/inactive. Inactive foremen are not available for assignment in the "Employees" menu.
Click on save to accept changes as the data is not automatically saved after records are added, modified or deleted.
Assigning Employees to Foremen
Employee-foreman assignments take place in the "Employees" menu, by clicking Labor > Employees.
Assignment can be done in two ways: (i) in the grid and (ii) in the “Overview” tab.
Assignment in the Grid
Assignments can be executed in the grid for one or more employees simultaneously. In this case, select the employee(s) you'd like to assign to a foreman, then click the “Foreman” dropdown to select the desired foreman from the list. If the “Foreman” column is not available in the grid, it can be retrieved via the column chooser (right-click a column header > select "Column Chooser" from the context menu).
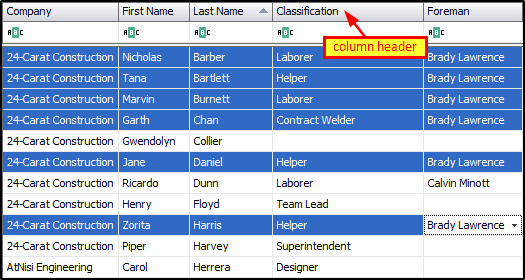
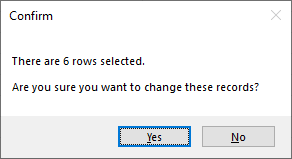
You will be prompted to confirm changes that affect more than five (5) employees at a time.
Assignment in the Overview Tab
Employee-foreman assignments can also be executed in the "Assignment" section of the “Overview” tab, but can only be done for one employee at a time. After selecting the employee, click the “Foreman” dropdown and select the foreman to assign the employee to.
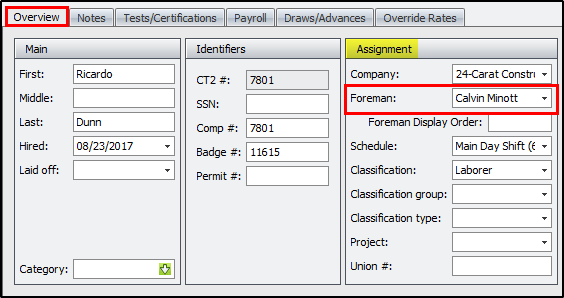
After the foreman is assigned, click on save to accept changes.