A Billing Package is a report with approved daily entry records, submitted for invoicing. The daily entries in each billing package can be from authorization packages, service entries, approved records or confirmed records. We will explore each in greater details below.
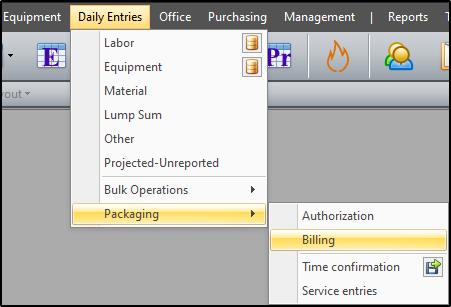
To prepare a Billing Package, click Daily Entries > Packaging > Billing.
When the "Billing Packages" screen loads, use the checkboxes in the “Filters" section (collapsed by default) to determine what packages are displayed in the grid below. You can choose to show only active records or all records as well as display records for all companies or only your assigned companies. You can also use the "Add" button to set filters that limit what data is included in each billing package.
To the right of the the “Filters" box is a refresh button that refreshes billing packages after changes are made. In other words, if three (3) reports are created but not yet packaged, and shortly afterwards two (2) more reports are created, after clicking refresh, the value in the "New" box will change from "New - 3" to "New - 5" as there are now five (5) newly created billing packages that are ready to be packaged.
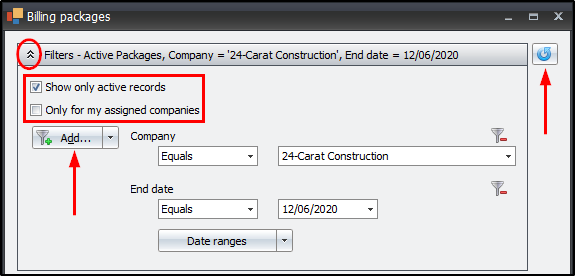
Please note, the filters in this screenshot will be changed, as we will explore several different ways to create billing packages. Let’s now explore the steps involved in each approach.
Create
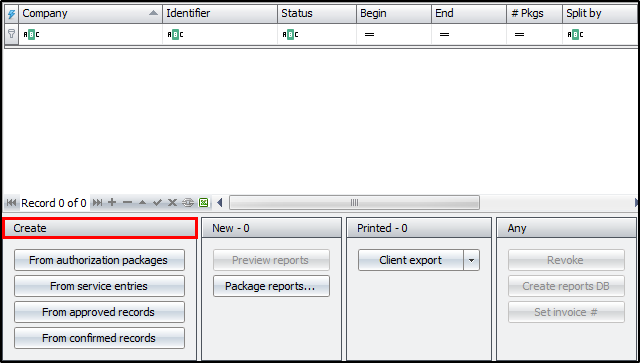
The "Create" box lets you choose which source you'd like to create a billing package from. Some of these packaging options require special selections in the "Sites" menu (File > Sites > Packaging Tab) before they're available for selection here.
| Packaging Option for Billing Packages | Checkbox to flag in Sites Menu |
| From authorization packages | Enable authorization packages |
| From service entries | Enable SAP packaging |
| From approved records | Enable authorization packages |
| From confirmed records | Enable authorization packages and Enable SAP packaging |
We will start with "From authorization packages" and work down the list.
From Authorization Packages
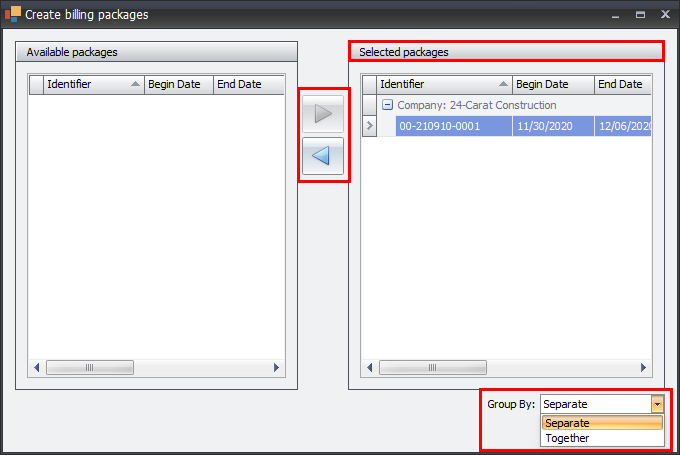
This section is a continuation of the Authorization Packages article. When you choose to create a billing package from authorization packages, the "Create billing packages" screen will load with all available authorization packages that have been approved, but not yet grouped into billing packages. In the "Available packages" section, select the auth packages (not company name) you intend to create billing packages for, then use the right arrow to transfer them to the "Selected packages" section.
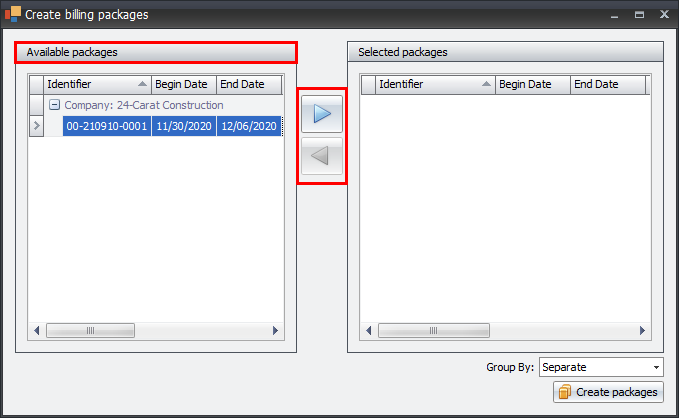
Before clicking “Create Packages”, note that you can use the left arrow to transfer selected packages back to the "Available packages" section, thus, removing them from the list of packages to be grouped. Furthermore, you'll want to verify how you'd like to group the selected packages, using the “Group By:” dropdown. It is customary to "Separate”, thus creating a distinct identifier for each authorization package in the list. Grouping "Together" will create a billing package for all selected packages.
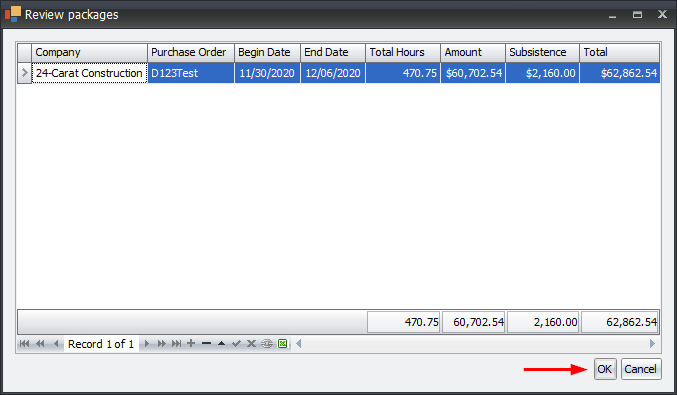
After defining the grouping structure for the selected packages, click "Create Packages" to create the billing package(s). Then, review the created package(s) and click OK after verifying the details are correct.
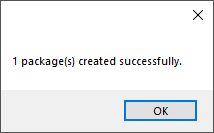
You will then get a pop-up notification with the number of packages that were created successfully.
NOTE: You can explore the other ways to create billing packages or just jump to the "New" section, here.
From Service Entries
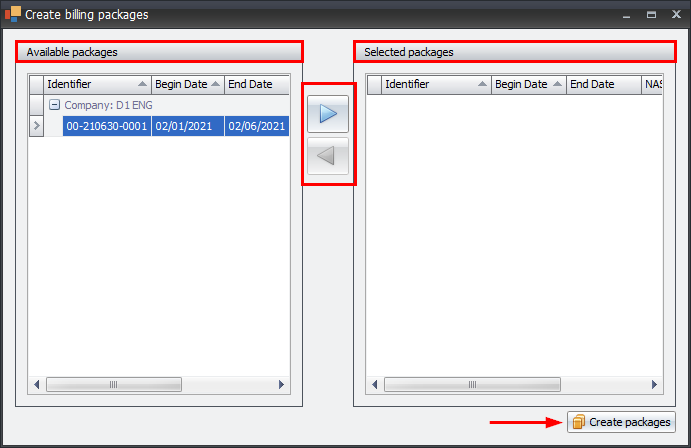
This section is a continuation of the Service Entry Packages article. When you choose to create a billing package from service entries, the "Create billing packages" screen will load with all available service entry packages that have been approved, but not yet grouped into billing packages. In the "Available packages" section, select the service entries you wish to create billing packages for, then use the right arrow to transfer them to the "Selected packages" section. Conversely, you'd use the left arrow to transfer them back to the "Available packages" section. Once all your desired service entry packages are moved to the "Selected packages" section, click "Create Packages" to create the billing package(s).
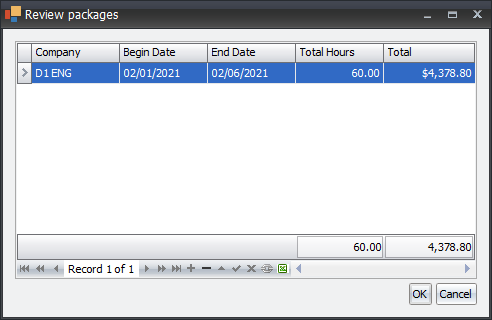
Then, review the created package(s) and click OK after verifying the details are correct.
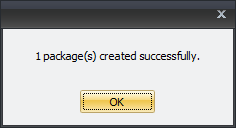
After closing the review screen, there will be a pop-up notification, indicating how many packages were created successfully.
From Electronically Approved Records
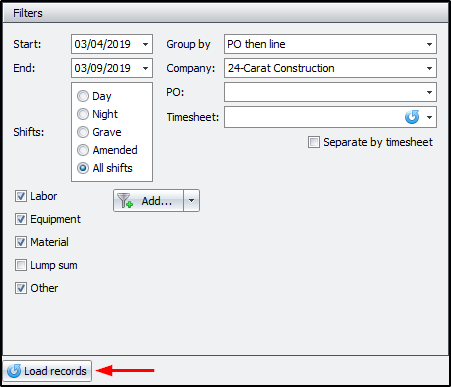
When you choose to create a billing package from approved records, the "Create billing packages from approved records" dialog will open. Use the "Filters" box to set the underlying details for the package(s) you intend to create, then click "Load records" to load the matching records in the "Packages" section.
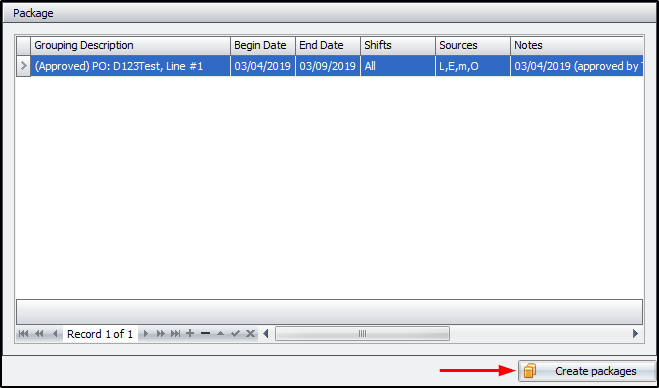
If everything looks correct in the "Packages" section, click "Create Packages" to create the billing package(s).
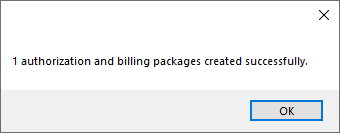
Afterwards, there will be a pop-up notification, indicating how many authorization packages and billing packages were created successfully. Although using electronically approved records as the method to create the billing packages, the authorization package number field is auto assigned during this process. No further action is required regarding the use of the auth pacakge number assigned.
From Confirmed Records
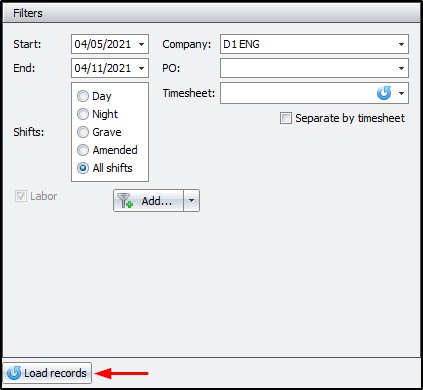
This section is a continuation of the Time Confirmation Packages article. When you choose to create a billing package from confirmed records, the "Create billing packages from labor in SAP time confirmation packages" dialog will open. Use the "Filters" box to set the underlying details for the package(s) you intend to create. Once these parameters are in place, click "Load records" to load the matching time confirmation packages in the "Packages" section.
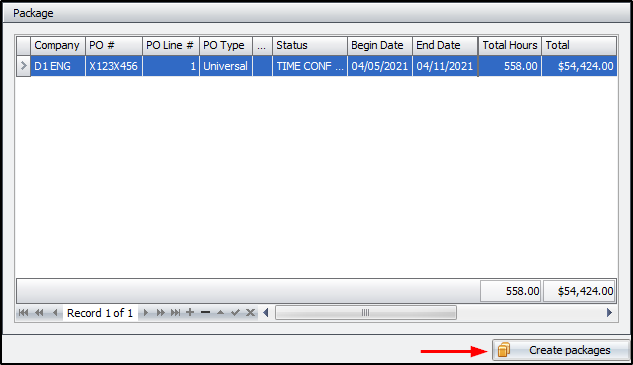
If everything looks correct in the "Packages" section, click "Create Packages" to create the billing package(s).
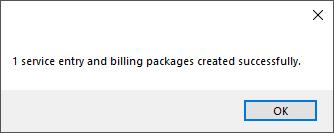
Afterwards, there will be a pop-up notification, indicating how many service entry and billing packages were created successfully.
New
In the "New" section, after selecting a report or group of reports in the grid, you can preview reports, and package reports. Since the processes in the "Create" section are similar, we will explore the remainder of this article as a continuation of the "From Authorization Packages" option.
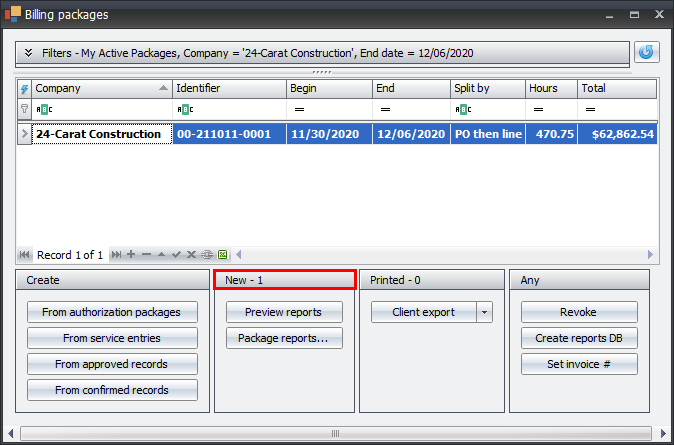
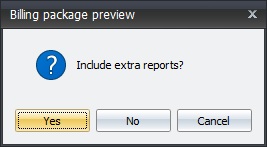
When you preview the report, you can preview the cover page as is, or include the extra reports (all reports in the _BillingPackage report set, noted below) in the preview.
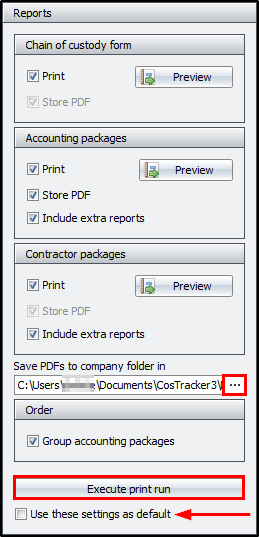
When you click “Package Reports” the “Billing package reports” dialog will open with the settings on what to print and where to store the reports. This interface has a section for "Reports" and one for "Packages".
The "Reports" section has options to preview, print, and store reports. To set a storage location, click on the ellipsis and set the desired path to save PDFs to company folder. Be sure to flag the “Use these settings as default” checkbox if you modify the settings and would like to keep your newly modified settings for future use. Afterwards, click “Execute print run” to print the auth packages in the "Packages" section.
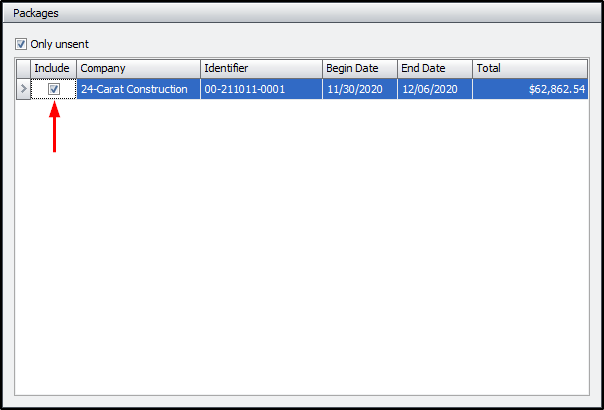
The "Packages" section simply displays the list of reports to be packaged. From the list, you can preview reports or omit reports from being packaged by unchecking the 'include' (flagged by default) checkbox. The omitted reports will not be packaged in the current print run, but will be available for packaging in future print runs.
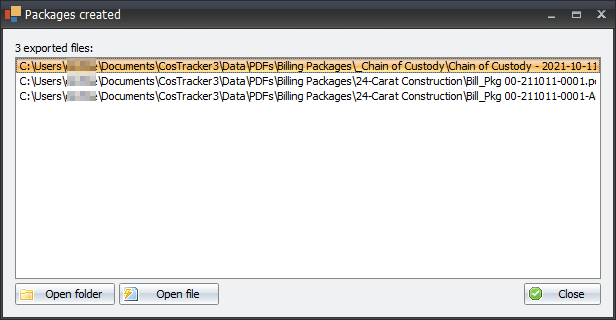
After the reports are packaged, a dialog box will open, showing the packages created, to which you can open the file or folder for each.
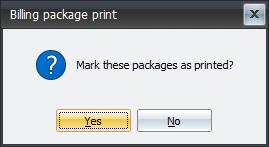
The next step is to mark the packages as printed. Be vigilant to not select "No", as, even though the PDFs have already been created, the data could be changed in the software and the PDFs could be created again. However, once the packages are marked as printed, they will transition from new to printed status.
Printed
After a billing package is marked 'printed', you can perform a client export in the "Printed" box.
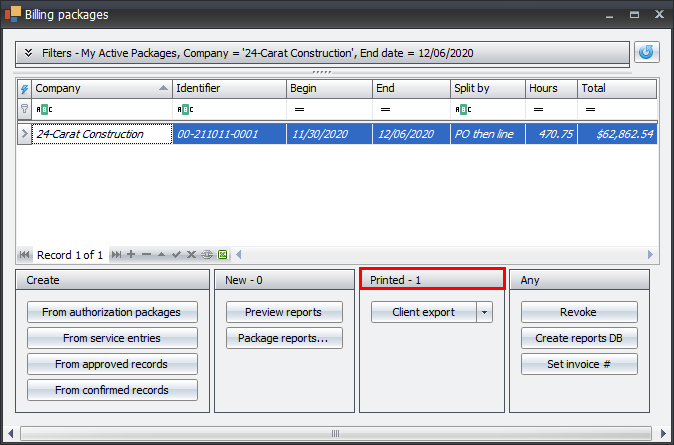
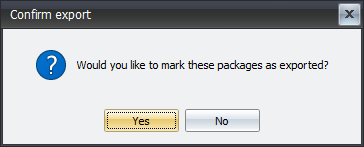
A client export is basically exporting the raw data in the billing package to a csv file. The client export dropdown lets you choose between exporting all sent and unexported packages, or the selection made in the grid. Once the export is completed, you can choose to open the folder with the exported file(s) in the context menu. Upon closing the context menu, you will be prompted to confirm the export. If you click Yes the status changes to include "- Exported" (i.e. Approved - Exported). If you click No the exported files will remain but there will be no change in the status of the exported packages.
Any
In the “Any” box you can revoke billing packages, create a reports database for the selected billing packages, as well as set invoice number to the selected billing packages.
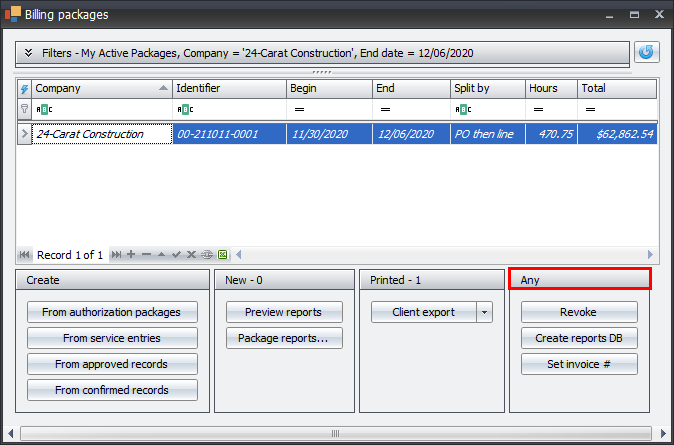
If you choose to revoke a billing package, you will get a message to confirm revocation of the selected billing package, and an additional option to also revoke the affiliated authorization package. Once both packages are revoked, the affiliated daily entries records will reopen.

If you choose to “Create Report DB”, you will get a message advising that the Reports DB has been created.
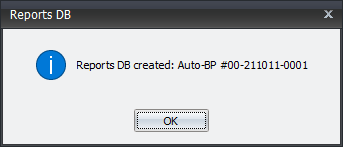
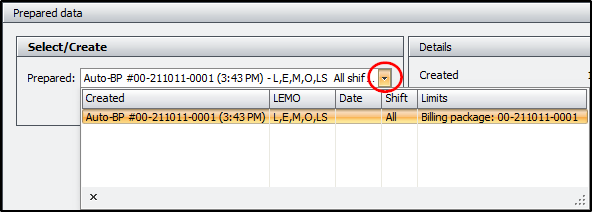
This basically sets up a prepared database that can be used for any of the prepared reports screens (i.e. Detailed Cost Reports). Once it is set up you can run reports and export raw data from the billing package into Excel.
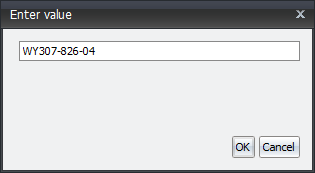
If you choose to “Set invoice #”, you will basically assign an invoice number to the selected billing package(s). When the dialog box opens, just enter the value and click OK.
Modifying Billing Package Reports
The reports in a billing package can be easily customized in the report generator. If you’d like to add/remove/modify the settings of any of these reports, do the following:
Navigate to Reports > Report Generator.
Click the “Report set:” dropdown and select "_ BillingPackage".
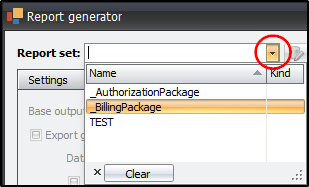
Make your modifications in the “Reports” section. Be sure to click "Save" afterwards.

See the Report Generator article for further details.