Time confirmations, like service entries, are a way of loading cost (labor entries only) into SAP. Unlike service entries, you'd send hours instead of dollars, therefore, it is imperative that the classification rates in CT3 and in SAP are the same to avoid discrepancies in total calculated costs. The key similarity to service entries is that you'd send a file with exported time to SAP. The main difference is, you do not import back a result from SAP.
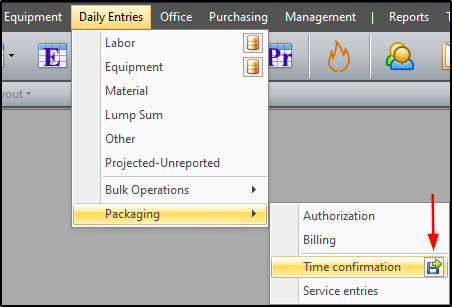
To create a time confirmation package, click Daily Entries > Packaging > Export button on Time Confirmation.
In the "Generate time confirmation packages" screen you can set filters, additional filters, load data and manage exports and export files.
Filter
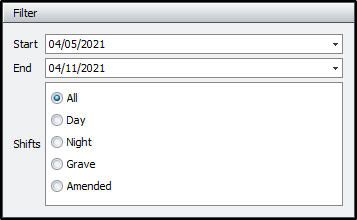
The "Filter" box is for setting start date, end date, and shift for the records to be exported. Once these parameters are in place, proceed to set additional filter, if needed. Otherwise you can just load the data.
Additional Filters
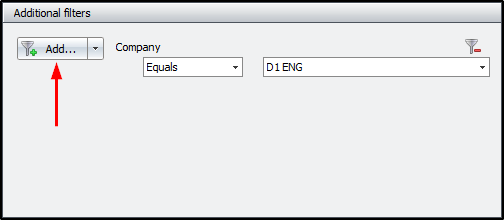
The " Additional Filter" box basically limits what data is included in the export by clicking the "Add" button and setting the criteria and conditions for those filters. Where service entries are PO-specific, a time confirmation will contain data for all available companies and POs that can be sent. Therefore, if you want to only include records for one (1) company or a list of companies, this is where you'd set a filter for said companies. The same logic can be applied for work orders, purchase orders, etc.
After all filters are set, proceed to load the data.
Load Data
The "Load Data" box, in essence, lets you load and summarize the data to be exported.

You can summarize the export by detail, or by a combination of date, craft (or classification), work order and purchase order. Summarizing by detail shows a row for each employee and has their name in the "short text" column. However, summarizing by Date/Craft/WO/PO only shows a row for each classification.

After defining how to summarize the data, click "Load data" to load the data that matches the applied filters above.

After data is loaded and summarized, but not yet exported, use the "Discard data" button to clear the loaded records. Otherwise, it is unavailable to use.

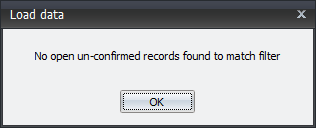
When loading data, if there are no matching labor entries, you will get a notification that there are no open un-confirmed records found to match filter.
When considering time confirmation, labor entries are only available to load and export if:
- Labor records are marked "Approved" and "Ready for SAP" or "Finalized" on the Dashboard
- Labor ST/OT/DT rates match the dated SAP ST/OT/DT rates
- Labor hours are not negative (negative hours are not allowed in SAP on a time confirmation)
- Classification.SapClass value is set on each craft to match the SAP equivalent
- Company category is not "Internal Contractor"
- Company.SapCode is set to match the SAP equivalent
- Work order must be set on the entry (cannot be left blank)
- Work order ControlKey set is set, however, ControlKey cannot be "PM02" or "PM03"
- Work order is not hyphenated (used for cost codes that are treated as work orders)
- Work order status is not CRTD (created, not yet approved for cost) or CLSD (closed, no more cost can be entered)
- Work order expense type is not "WO.4"
- Purchase order is a universal PO (PO type is "Universal" or "U")
- Purchase order is not flagged to "Do not send time confirmations".
If there are matching labor entries, the loaded records can be summarized in the "Filtered data summary" and "Records" tabs, respectively.
Filtered Data Summary Tab
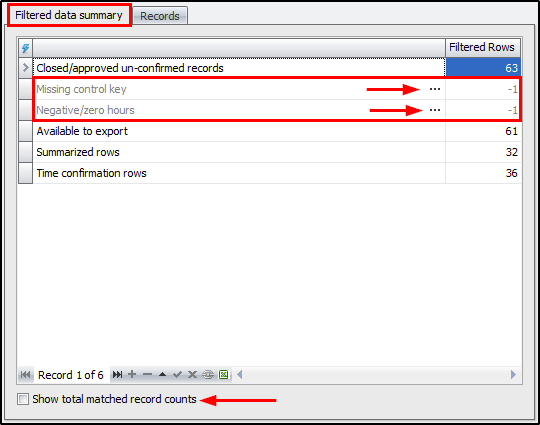
The "Filtered data summary tab" is a brief synopsis of the data that is loaded. It shows how the results for the loaded data are grouped, and displays a count for each group. In this example, two (2) records did not make the cut and will not be exported as one has a work order with no control key and the other has negative labor hours. Clicking on the ellipsis (...) will take you directly to the invalid records to have them corrected or flagged to skip time confirmation. In the lower left of the "Filtered data summary tab" is a checkbox to show total matched record counts, which just adds a new tab showing total rows beside filtered rows.
Records Tab
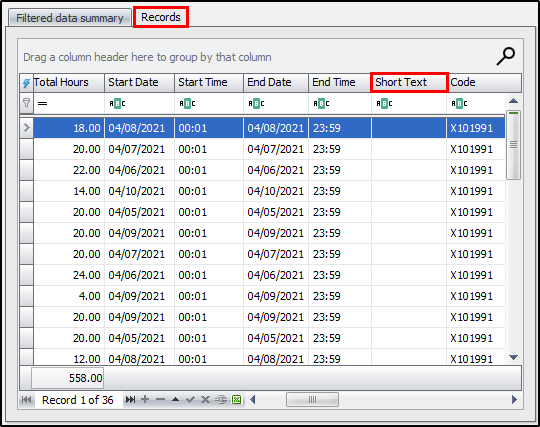
The "Records" tab shows the details for the time confirmation rows, to be exported, with many columns for further scrutiny. In this example, the "Short Text" column is blank, as the data was summarized by Date/Craft/WO/PO (and not by detail) which is the default settings. Changing and storing default settings will be explored in the "Export" box below.
After summarizing the loaded records, proceed to export the data to SAP.
Export
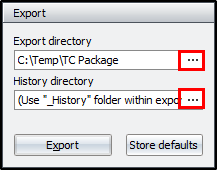
Exporting the data is the final step in creating a time confirmation package. The "Export" section comes with default export and history directories, however, you can change them by clicking the ellipsis (...) and setting a new output/storage folder for the export files. It is also advisable to store default settings before clicking "Export" so that the system will keep your current settings for future uses.
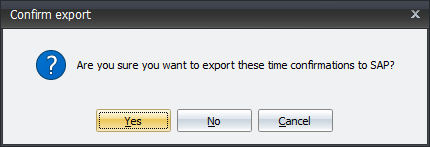
Once everything is in place, click "Export" and you will be prompted to confirm the export. Click Yes to proceed.
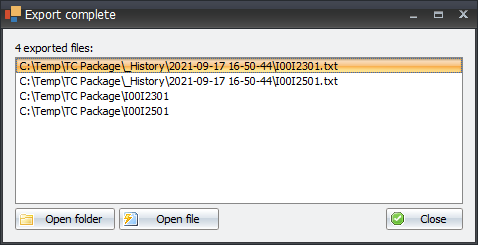
After the export is executed an "Export complete" window will open, showing the exported reports, to which you can open the file or folder for each.
Viewing Exported Packages
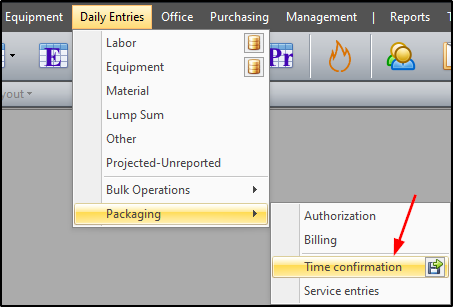
To view the exported time confirmation packages, click Daily Entries > Packaging > Time Confirmation.
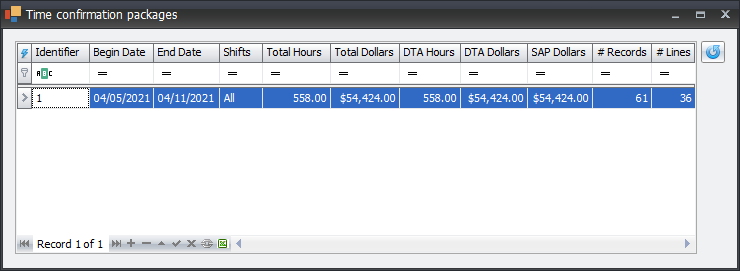
This will open the "Time confirmation packages" window, displaying the packages that were created and the underlying details for each package.
