The "Vendors" and "Vendor Categories" menus are used solely for tracking receivers. When adding these items to the software, it is beneficial to add vendor categories before adding vendors so you can assign each vendor to a category, if needed. This brief article covers further details on both.
Vendor Categories
Vendor categories serve as a utility to group vendors and make it easier to report on several companies that fall in a given category.
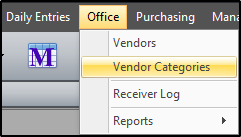
To add a vendor category, click Office > Vendor Categories.

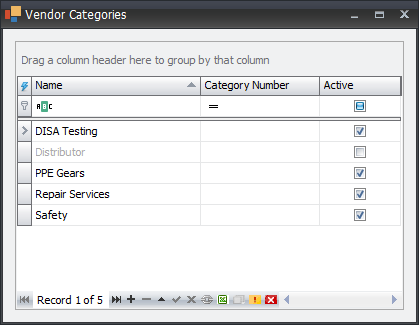
Click the append button (+) on the navigation bar to add a new row, then enter the details for each category. You can also use the buttons to the right of the append button to modify or delete the selected record(s).
In addition to adding category names, be sure to flag them as “Active”. Those flagged as inactive, will not be available for assignment in the "Vendors" screen.

Click on "Save" to store new/updated records.
Vendors
The "Vendors" screen serves as a platform to create and manage vendors. Almost all receivers are tied to a vendor and most receiver log reports are broken down at the vendor level to separate charges associated with each vendor.
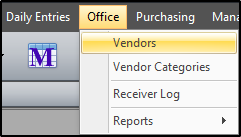
To add a vendor, click Office > Vendors.

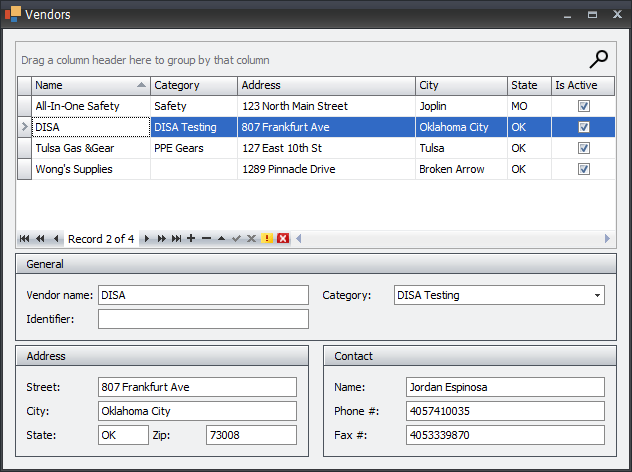
This interface is separated into three (3) groups: general, address and contact. The "General" section contains details on the naming and grouping of each vendor. The "Address" section contains geographic location for each vendor. Lastly, the "Contact" section entails contact details for the company and company liaison.

After saving, the "active" vendors will be available for selection and cost assignments in the receiver logs screen.