The vendor purchase order screen serves as a platform to manage and track vendor purchase orders. In this article, we will explore different functionalities within the vendor purchase order screen.
Adding Vendor Purchase Orders
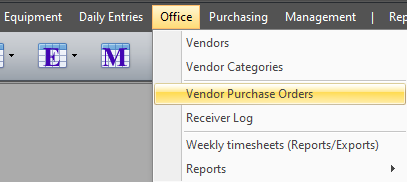
To add a purchase order, click on Office > Vendor Purchase Orders.
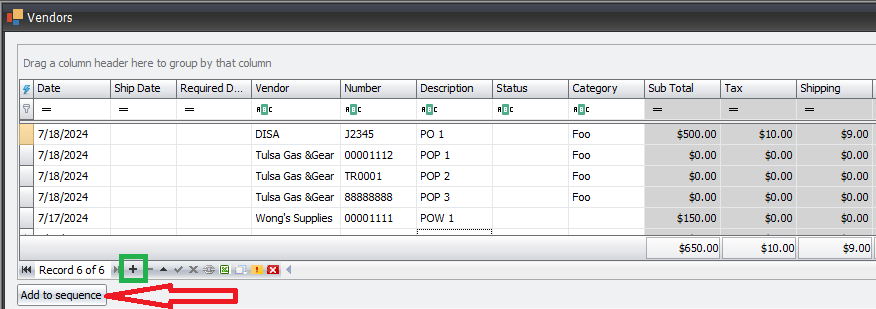
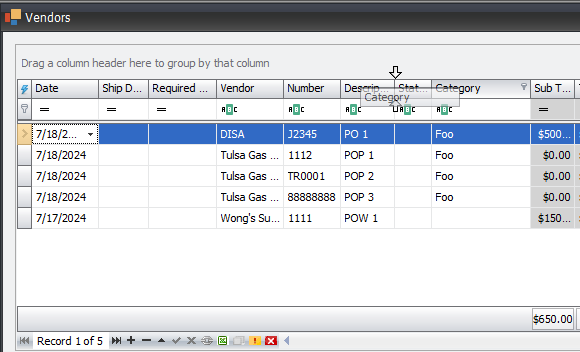
Click append (+) to add a new row (shown in a green square in the image below), then enter the details for each record. You can also use the buttons to the right of the append button to modify or delete the selected record(s). Another way to add a new row is clicking the "Add to sequence" button (with the red arrow pointed at it in the image below). This button looks at the existing records' "Number" and generates a new record with the next number in the sequence based upon the record selected. Looking at the image below, if the user selected the first row, Number J2345 and pressed Add to sequence the new record would have the number J2346. If the user were to select the record with Number 00001112 or 88888888 and pressed the Add to sequence button the new records would have the number 88888889 because either option of selected records are in the same sequence.
After adding a new row, enter the details for each record in the grid or in the tabs below the grid. You will observe that some columns in the grid are grayed out, as they're read-only and cannot be modified there. In the case of this screen, the columns grayed out are calculation based on the values in the lines in the grid below.
After adding and editing records, click on “Save” to accept changes as the data is not automatically saved after records are added, modified or deleted.
Data Grid
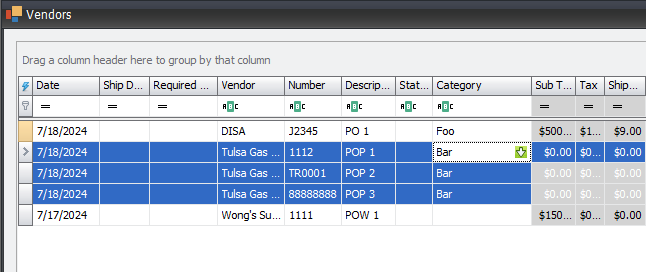
The data grid allows changing several values for records simultaneously. After selecting the desired records, make the change in one of the selected cells then press tab and that change will take effect for all select records in that column.
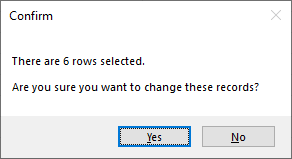
You will be prompted to confirm changes that affect more than five (5) records at a time.
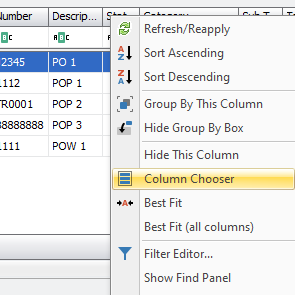
Some columns in the grid may not be visible, but can be retrieved from the column chooser, which basically houses the hidden columns. To retrieve a hidden column, right-click a column header and select "Column Chooser" from the context menu.
This will open the "Customization" form with the list of available columns for that screen.
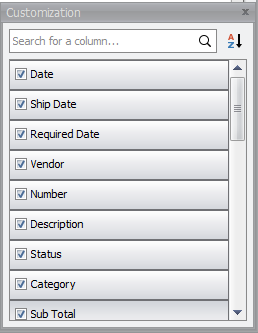
Afterwards, drag and place the desired column from the form, to the grid. The two arrows facing each other indicate where the column header will be placed in the grid.
Let's now explore the tabs below the grid.
Overview Tab
The “Overview” tab has three (3) sections and contains supplementary details for each VPO. The "Vendor PO information" section handles distinct values of each purchase order. The Vendor PO # is the the vendor purchase order code that has been added or imported from an external source. The category serve as utilities to group VPOs and make it easier to report on several VPOs that have similar categories assigned. The date tells when the VPO was created. The status tells where things stand with the purchase order and indicates whether the VPO is approved, closed, etc. The Vendor field is to denote the company that owns the VPO.
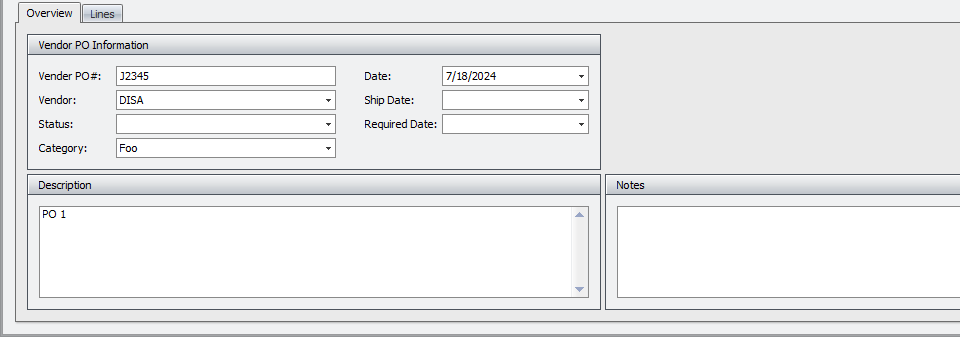
The Description basically illustrates the task(s) to be performed, or tells what the charges to the PO relate to.
The Notes section serves as a medium to add notes to the PO that are not generally found in the PO description.
Lines Tab
The “Lines” tab is basically an assembly of the VPO lines that provides details like purchase orders, work orders, etc., that are tied to the VPO. On the line the user can record various values that are used to calculate the total of the line (quanity, unit cost, tax, shipping, markup percentages, etc).
The line also has values from the Receiver Line screen where the vendor po line can be set for each receiver line (received amount, receiver reimbursable total, receiver markup total) and has two percent based columns to display the amount used and remaining based upon the received amount and the total amount on the VPO.
